
The process of awakening young minds to the beauty and excitement of structural engineering is not as complicated as one might think. What are the necessary ingredients?
- A classroom of young minds.
- A cooperating school.
- An engineer willing to speak to young minds.
- A classroom assistant (perhaps a parent of one of the children).
- Graphs, easily downloaded from the web, of interesting projects.
- Paper, foam board (cardboard), glue, toothpicks, gum drops, etc.
- One to 1½ hours of time in the classroom (which will be quickly filled), an hour or two of preparation time the evening before, and a cooperating individual to help prepare student gift bags filled with materials to construct a bridge.
Young children will find almost anything entertaining as long as there is activity. The key is to make that activity pertinent to their environment and tie it in some fashion to science and engineering. The following example, we believe, achieves both of those objectives. In this program, the teacher had paved the way for the presentation by having the students undertake basic research into elements of bridge construction. The classroom example was an unnamed child walking over a brook on a board or a log. A log supported on the bank (buttress) of the brook becomes a bridge. One can’t be more descriptive for a young mind than that. However, the simple bridge allowed for an opportunity to extend basic concepts through sketches and photographs to real-world situations.
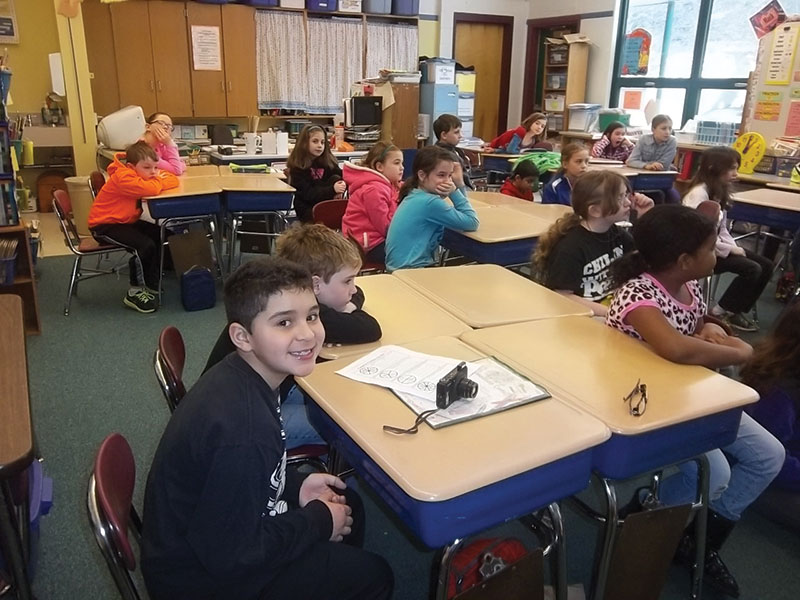
In the Classroom
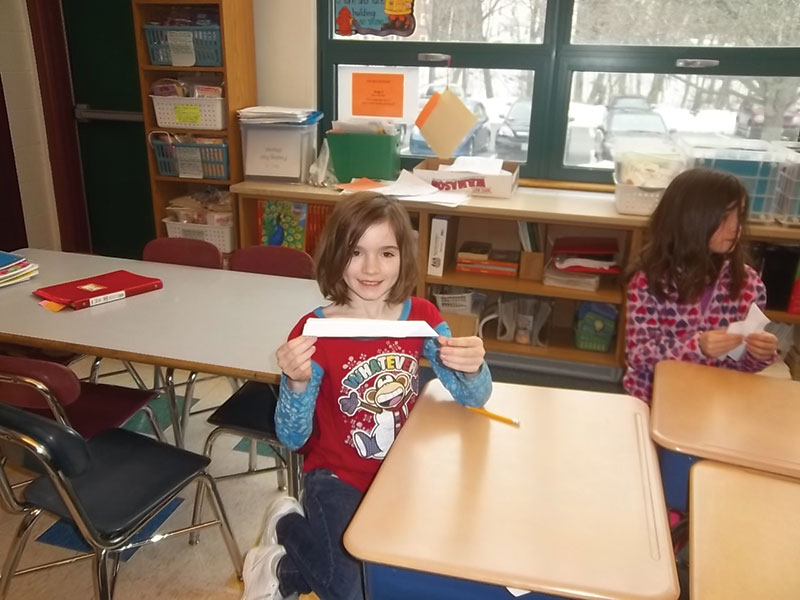
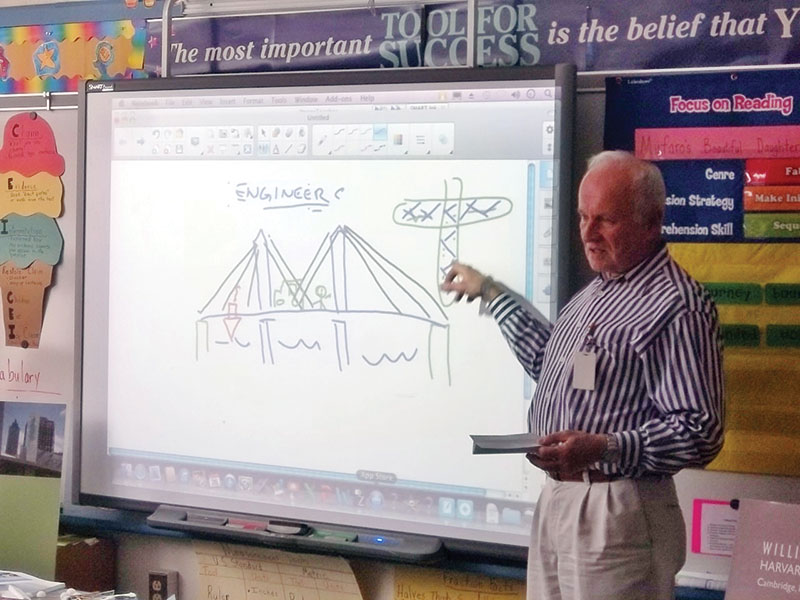
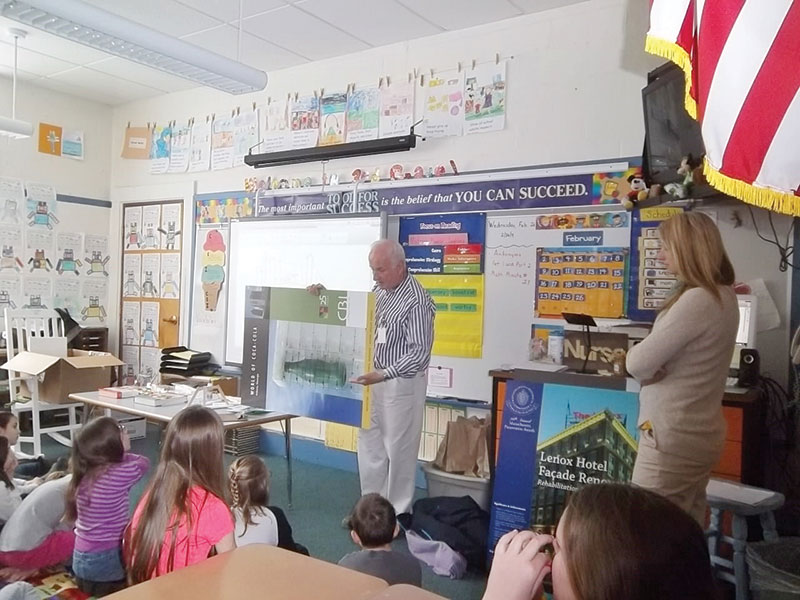
In the case of our classroom example, the real-world case experience was the Leonard-Zakim Bridge in Boston. For the classroom experience, it was convenient to have a whiteboard or an easel for quick sketches with magic markers. Remember, you are speaking to an audience where quick sketches are as good in their minds as the ones they make…there is absolutely no need to have a professional drawing. The kids wouldn’t understand the detail in any case. The paper in this case, 8½ x 11 inches, is used simply to illustrate the principle of stiffness created by folding the paper. That same piece of paper can be used to illustrate how changing the shape of materials can also change what they are able to do. In this example, a sheet of paper was simply thrown. Without surprise, it went nowhere but down. The students were then, with their own piece of paper, asked to fold it to resemble that childhood paper plane that you certainly made years ago. Much to the authors’ surprise, much of the class had not experienced making a simple paper plane. The paper plane, when thrown, achieved a much greater distance than the plain sheet of paper. The study was extended a little further; with a few more folds, and some staples in the nose of the “plane” to change the aerodynamic characteristics. The students saw how minor design changes, using the same piece of paper, could really improve the flight of their ‘777’. A note of caution, best to save this example to the end of the class…you can speculate as to why. That piece of paper appears later in a hand-sketch symbolically on the white board to illustrate how structural engineers participate in the airplane industry. By the time they are ready for that description, they will have received a brief discussion about trusses and how trusses work.
With the white board handy, the basic elements of bridge construction (piers, buttress, cables, tension and compression members, etc.) can be illustrated. Prepare ahead with simple combinations of popsicle-sticks, glue joints, or popsicle-sticks with pin joints to illustrate the elements of truss construction. Use the white board to quickly describe a variety of bridges: truss, girder, arch, cable, etc. Children become bored easily when looking at too much placed on a board in front of them; therefore, intersperse your white board activity with photographs and/or some of the examples you have made to illustrate concepts. We found a simple combination of toothpicks and small Styrofoam balls quite useful. In one case, toothpicks and Styrofoam balls were pushed together to form a string in front of the student. A similar example using Styrofoam balls and toothpicks, inserted in quick- setting glue, was used to illustrate tension characteristics and cable analogy. Popsicle-stick glue joints, prepared ahead of time, or with the use of quick-setting glue in class, can illustrate the difference between rigid connections and pin connections. Clearly, some of these concepts will be lost because the children will not understand the application; however, they will be able to visualize how joints work.
In our case, the teacher required the students to write a report on their observations of the presentation, and to describe items of interest and what they had learned. Most of the students were intrigued by the concept that a ¼-inch piece of foam board would not support a stapler (the stapler was described as loading on the brook bridge), versus two layers of foam board where there was greater capacity, yet the stapler still touched the water. Using glue, turning those two pieces of simple layers into composite construction, the foam board could then be a functional bridge supporting the stapler, amazing the children. I used the foam board, the stapler, and two books symbolizing two buttresses over our imaginary river; this illustrates that the simplest of materials can be utilized to great benefit in a presentation of this sort.
If you are in a program of long duration and have sufficient time to make your toothpick and gum-drop truss bridge, go to it in the classroom environment. If you don’t believe you will have enough time, prepare in advance little gift bags of the truss with a hand sketch of what it will look like when completed for the students to take home. Put your preassembled gumdrop bridge sample on the book buttresses for illustration purposes.
The Back Story
Part of the back story in a successful presentation is the involvement of the school and the parents. Somebody needs to put that package together to make it appear attractive to a school. Remember, no grade-school teacher or superintendent of a school that I can remember will have much awareness of structural engineering, and most of them won’t have the faintest idea of what a structural engineer does.
Also it is helpful if the children have some prior interaction with the concepts that will be presented. In this case, the teachers had prepared learning packages for the students which contained vocabulary words, objectives, and descriptions of the projects that the students would be executing. The vocabulary primer included words such as pier, abutment, span, suspension, and included simple definitions. The students were also assigned a bridge to research on third-grade appropriate websites (Wikipedia was not an allowable resource for this project). The bridges included the local Leonard P. Zakim Bunker Hill Bridge and the famous Akashi-Kaikyo Bridge in Japan. Upon completion of their research, the students had to create an informational “brochure” regarding their bridge, including such information as the Designer of the bridge, the duration of the construction, the type of bridge (they had to select from cable, span, suspension or arch), the location, the year built and the question that proved to be a bit tricky (at least for the author’s child) was to explain why this type of bridge was selected.
Another project that the students executed was with an assigned partner where they were given materials in class (popsicle sticks, foam board, tooth picks, glue, etc.) and had to engineer and construct a bridge that was able to span a certain distance and withstand the weight of 3 cups of steel bolts. It also had to allow cars to pass independently, without the assistance of the students. This project was especially enjoyable to most of the students.
In addition to the in-class bridge education, the students also really enjoyed the class presentation. It offered them a broader exposure to structural engineering and showed them a number of exciting things that engineers might work on, such as airplanes (which all children love!) and some interesting structures other than bridges!
There may be students in those very class rooms that will remember this introduction to engineering in a few years when it is time for them to select a college major!▪